Heads up: we earn a commission if you buy through the links on this page, at no extra cost to you. It never changes the order of the list. Full disclosure · how we pick.
You need four things to pull a decent shot: a machine, a burr grinder, fresh beans and a scale. That is the whole list. The scale is the one people skip and shouldn't — it costs less than a bag of good beans and it is the difference between guessing and knowing.
Everything below that line is optional, useful in a specific order, and sold to beginners far too early. This page sorts the whole category into three groups: buy now, buy when a specific thing annoys you, and do not buy yet.
Day one: the four things
The minimum kit, and why each one is on the list
Item
Why it is essential
Where to start
A machine
Supplies around 9 bar of pressure through a basket of coffee
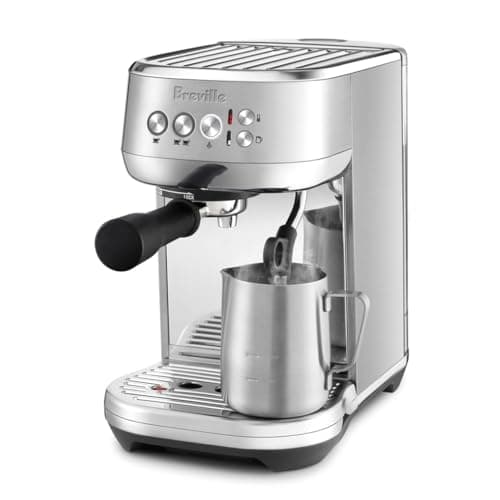
Breville Bambino Plus (BES500)Top pickThe standard answer to “which first machine” — full 54 mm portafilter and an 18 g dose, with the milk step automated so a flat white is possible on day one.
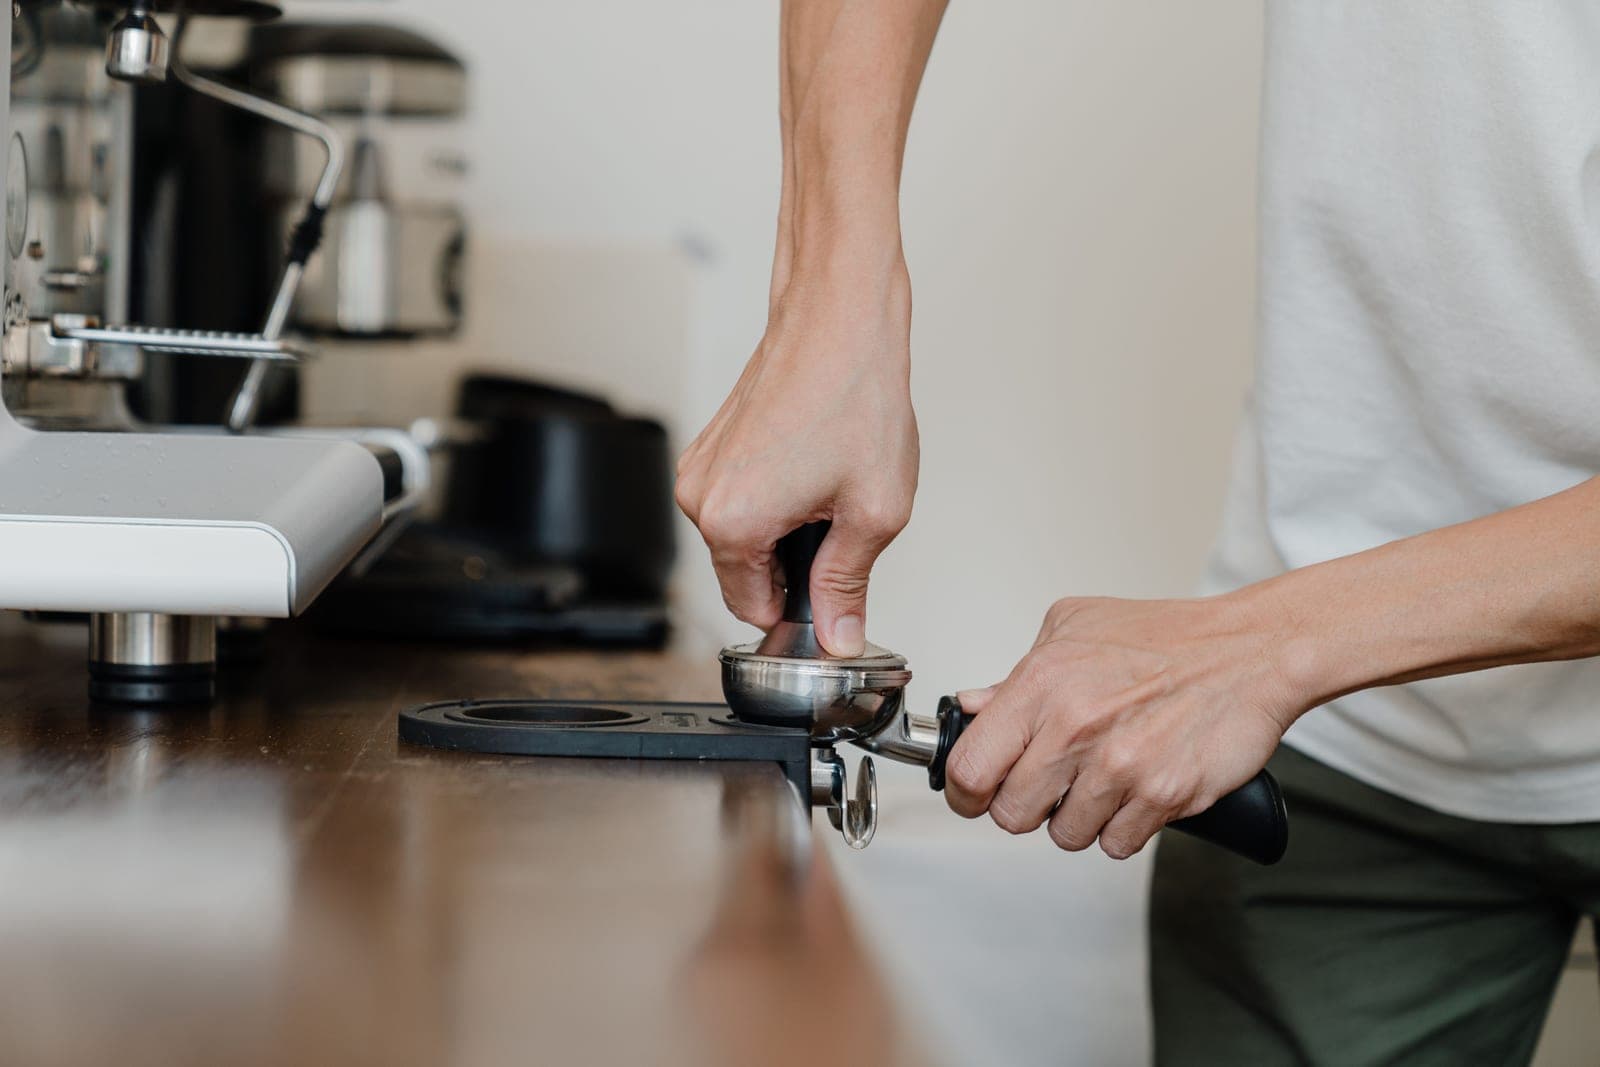
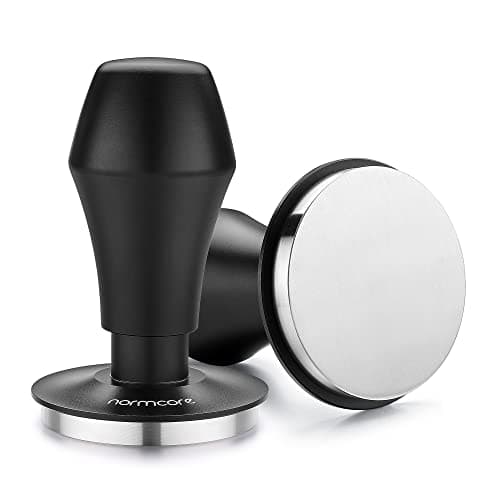
Normcore Spring-Loaded Tamper V4A calibrated tamper that clicks at a fixed pressure, so the tamp stops being a variable while you are learning everything else.
Taking tamping pressure off the list of things to worry about
Normcore Stainless Milk PitcherA 12 oz stainless pitcher with a defined spout. Size matters more than brand: too big and the wand cannot reach, too small and it overflows.
Lavazza Super CremaA medium-roast blend built for espresso and sold everywhere. Forgiving of an imperfect grind, which is what a first bag needs to be.
We have not handled these units. Everything above comes from published manufacturer documentation, cited inline, plus arithmetic you can redo yourself. Everyone in this category says they tested twenty machines; we have not tested any, and we say so. Here is what we do instead.
01
Breville Bambino Plus (BES500)
A first machine you will not outgrow in a year
The standard answer to “which first machine” — full 54 mm portafilter and an 18 g dose, with the milk step automated so a flat white is possible on day one.
Published specifications for the Breville Bambino Plus (BES500), with sources
54 mm tamper, Razor dosing tool, 16 fl oz milk jug, single- and dual-wall baskets, cleaning tool and disc [source]
The 54 mm portafilter and 18 g dose matter more than they sound: they put the machine on the same dose a cafe uses, so any recipe you read applies to it directly and every 54 mm accessory fits.
The three-second heat-up is the difference between espresso being a weekday habit and a weekend project. A machine that takes fifteen minutes to be ready is a machine you use on Sundays.
The automatic steam wand is the single biggest reason this suits a first setup. Milk texturing is the skill that takes longest to learn; handing it to the machine removes the part most likely to make you give up.
What it does well
Standard 54 mm basket, so recipes and accessories from anywhere fit
Ready in seconds, which is what makes it a habit rather than a project
Automatic milk means a drinkable cappuccino before you can texture by hand
The manual wand is still there when you want to learn
What you give up
No grinder — budget for one separately, and that is the right trade
Small water tank compared with a bean-to-cup machine; refills are frequent
Nothing here helps if your grinder cannot go fine enough
Skip it if you want one box that does everything with no learning curve — a bean-to-cup machine is the honest answer for that, and it is a different product.
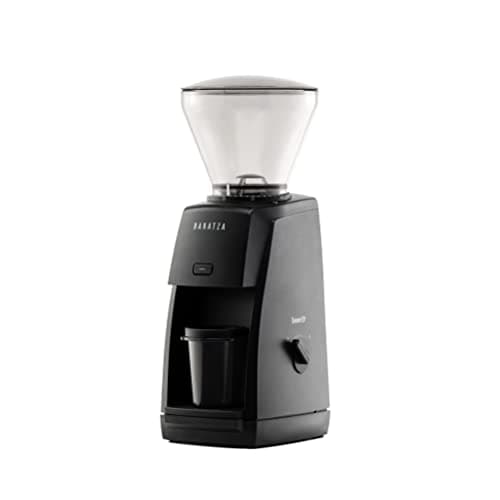
Twenty fine clicks inside the espresso range is the specification that matters. Grinders that give you five usable espresso settings cannot be dialed in; this one can.
550 RPM is deliberately slow. Slower burrs mean less heat and less static, which in practice means less ground coffee stuck to the inside of the chute and thrown around your counter.
It ships with both 54 mm and 58 mm dosing, which covers a Breville and a Gaggia without buying anything else.
What it does well
Genuine fine adjustment across the espresso range
Covers filter grinding too, so it is not a single-purpose purchase
Quick-release burr makes cleaning a two-minute job
Fits both common portafilter sizes out of the box
What you give up
Retains some grounds between doses, like most hoppered grinders
Louder than a hand grinder, obviously
Skip it if you already have a capable hand grinder and only make one or two drinks a day — you would be buying convenience, not better coffee.
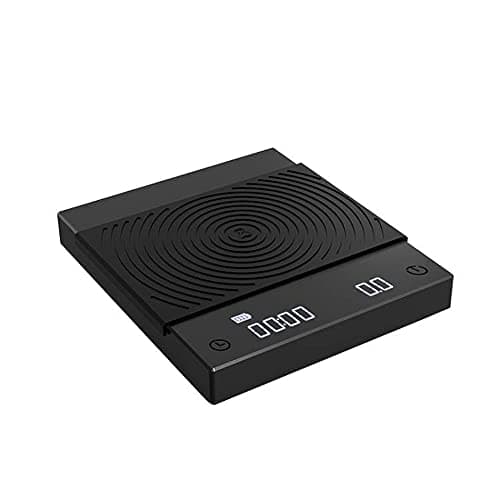
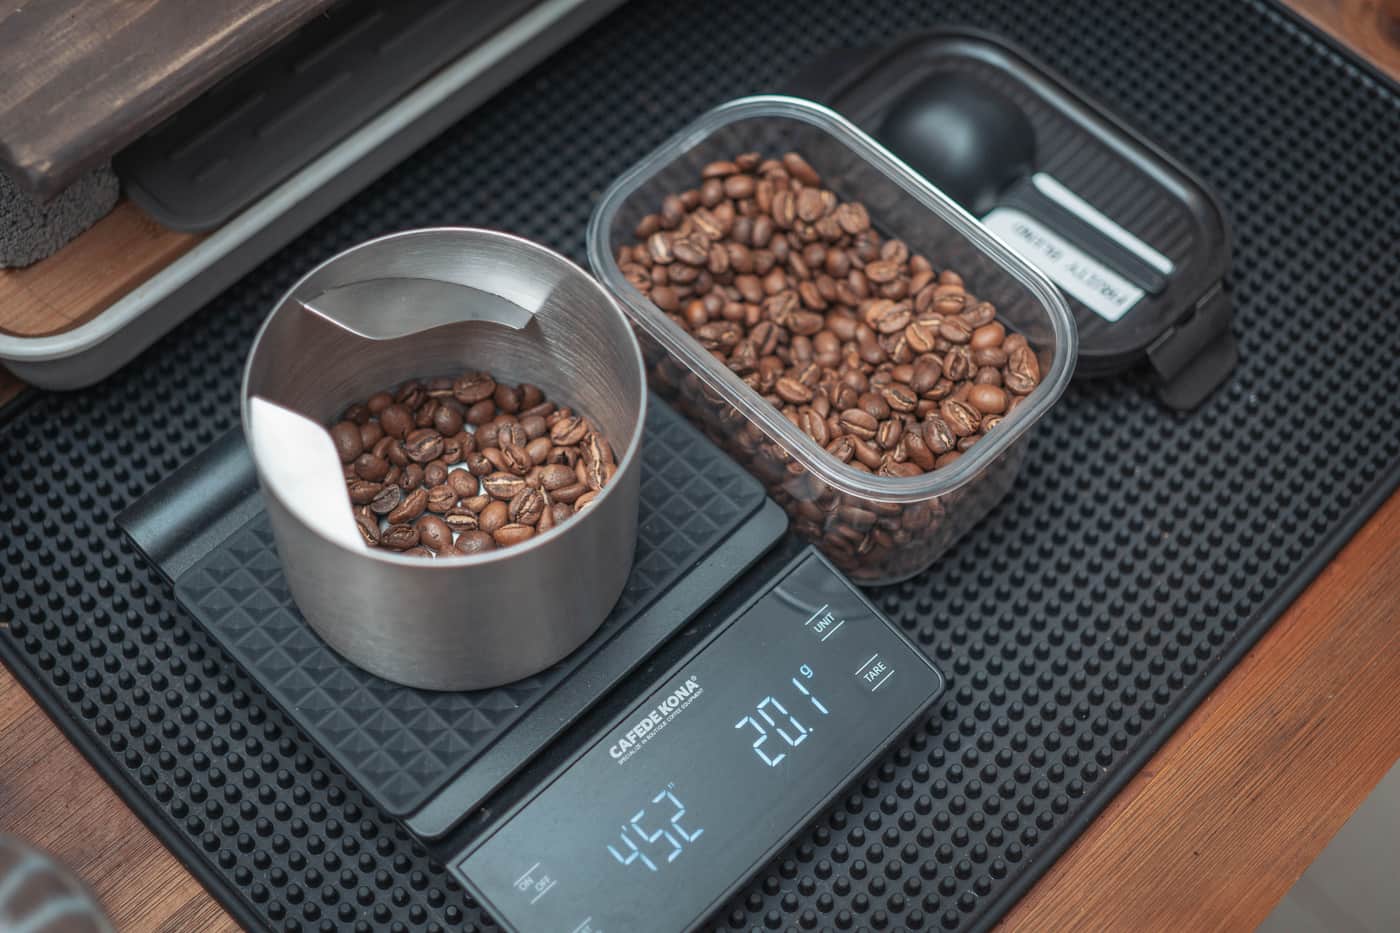
A 0.1 g coffee scale with a built-in timer, small enough to sit under a cup on the drip tray.
We have not compiled a cited spec sheet for this pick yet, so there is no spec table here. What follows is about fit — who it is for and who it is not — not about numbers we cannot source. See how we pick.
Espresso needs 0.1 g resolution because the dose is around 18 g and a gram either way changes the shot noticeably.
The timer matters as much as the weight. The National Coffee Association puts espresso brewing at 20-30 seconds, and you cannot hit a window you are not measuring.
What it does well
0.1 g resolution, which is the actual requirement
Timer built in, so you are not juggling a phone
Small enough to fit under the portafilter on most machines
What you give up
Not waterproof — it lives on a drip tray, so wipe it
No flow-rate display
Skip it only if your machine already weighs the dose for you. Otherwise this is the cheapest thing on the whole list that changes the coffee.
Taking tamping pressure off the list of things to worry about
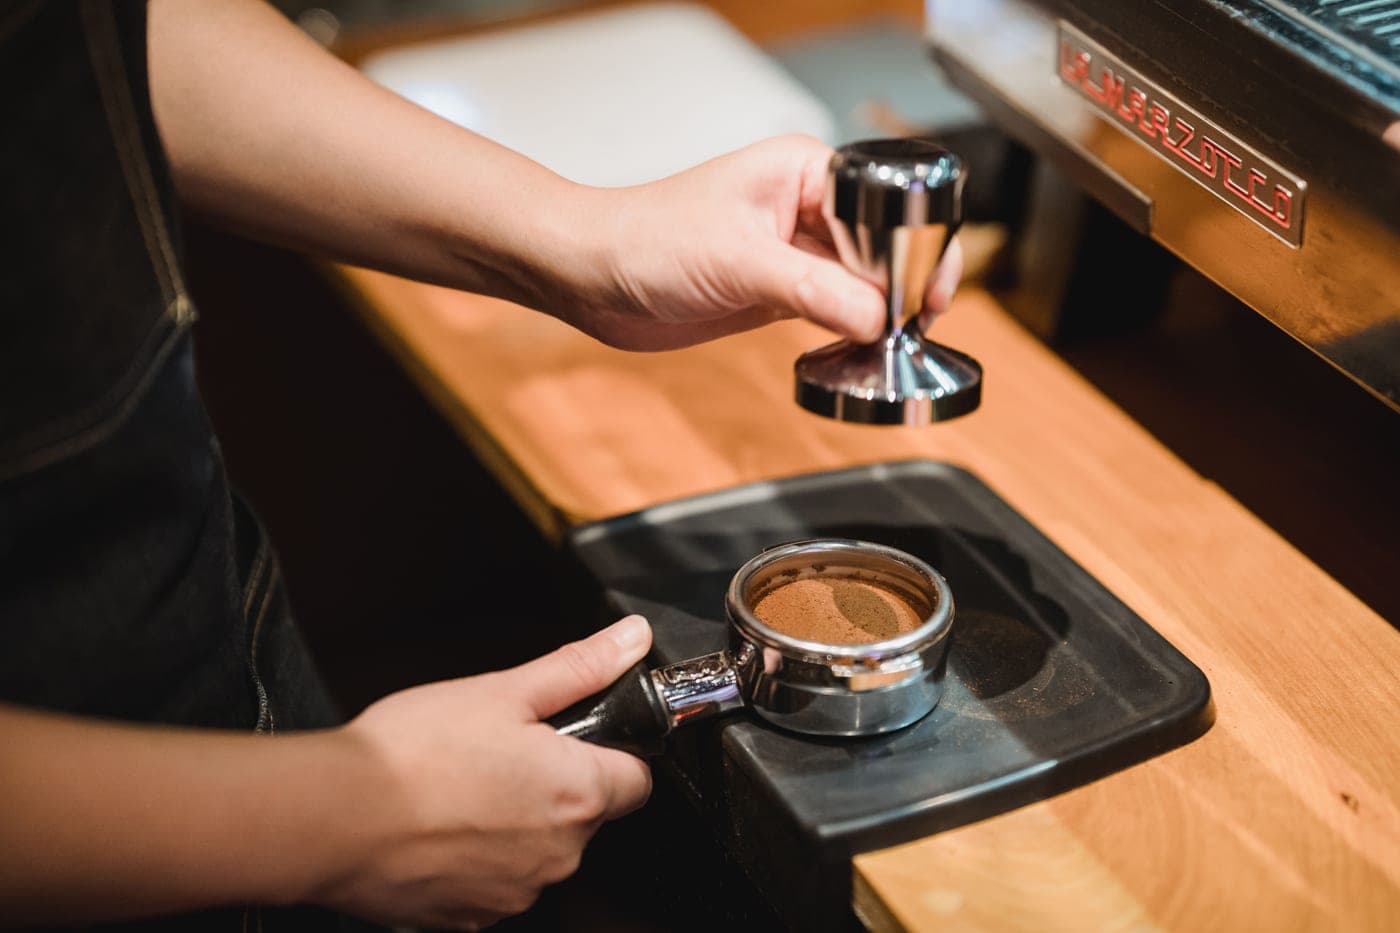
A calibrated tamper that clicks at a fixed pressure, so the tamp stops being a variable while you are learning everything else.
We have not compiled a cited spec sheet for this pick yet, so there is no spec table here. What follows is about fit — who it is for and who it is not — not about numbers we cannot source. See how we pick.
Tamping pressure matters less than people think and consistency matters more. A spring tamper gives you the same pressure every time without you thinking about it.
Size must match your basket: 54 mm for most Breville machines, 58 mm for Gaggia and commercial-standard machines. A tamper a millimeter too small leaves an untamped rim, which is where the water escapes.
What it does well
Removes one variable entirely while you learn the others
Available in both 54 mm and 58 mm
What you give up
Costs several times what a plain flat tamper costs
You must buy the right diameter — this is the most common accessory mistake
Skip it if the tamper that came in the box is the right diameter and you are willing to be deliberate. A calibrated tamper is a convenience, not a requirement.
A 12 oz stainless pitcher with a defined spout. Size matters more than brand: too big and the wand cannot reach, too small and it overflows.
We have not compiled a cited spec sheet for this pick yet, so there is no spec table here. What follows is about fit — who it is for and who it is not — not about numbers we cannot source. See how we pick.
For one or two drinks, a 12 oz pitcher is the right size. Fill it to just below the spout base and the milk has room to expand.
A jug from the kitchen cupboard does not work: the wand tip needs the right depth and angle to spin the milk, and a straight-sided vessel will not do it.
What it does well
Correct geometry for the wand
Pointed spout is what makes a pour controllable
What you give up
Wrong size is a common mistake — 20 oz is too big for one latte
Skip it only if a pitcher came with your machine and it is around 12 oz — the Bambino Plus ships with a 16 fl oz one, which is fine.
A medium-roast blend built for espresso and sold everywhere. Forgiving of an imperfect grind, which is what a first bag needs to be.
We have not compiled a cited spec sheet for this pick yet, so there is no spec table here. What follows is about fit — who it is for and who it is not — not about numbers we cannot source. See how we pick.
Blends built for espresso are easier to dial in than single-origin light roasts, which is why every café starts a new machine on one.
Availability is a real feature at this stage. A bean you can rebuy in any supermarket means you are changing one variable at a time.
What it does well
Very widely stocked
Tolerant of a grind that is not quite right yet
What you give up
Bags often sit on shelves — check the roast date if there is one
Skip it if you already know you like bright, fruity coffee. This is deliberately the opposite of that.
Buy these when the specific problem appears, not before. Each of them fixes something you will be able to name.
**A properly sized tamper.** Buy it when the plastic one in the box turns out to be a millimeter too small for your basket, which it usually is. Tampers.
**A WDT tool.** Buy it when your shots pour unevenly or taste sour despite a correct time. It costs less than a bag of beans and fixes the second most common cause of a bad shot. Distribution tools.
**A milk pitcher.** Buy it on day one if you drink milk drinks — a kitchen jug will not spin the milk. Milk pitchers.
What you can skip, at least for now
A precision distribution tool, a bottomless portafilter, a knock box, a puck screen, a professional scale, a dosing funnel, a tamping mat, and a set of shot glasses. None of them are useless. All of them are things to buy in year two after they solve a problem you have actually met. The full argument, item by item, is on what you can skip — with one exception, the cup you drink out of, which is cheap and does change the last few sips: espresso cups.
What it all costs
This is the question every beginner asks and almost nobody in this category answers with arithmetic. We do: what a beginner espresso setup costs to buy and to run walks through purchase, beans, electricity and descaler, with the electricity price sourced from the U.S. Energy Information Administration and every input shown so you can substitute your own.
Your first week
Kit in place, the next question is what to actually do. Your first week with an espresso machine is the day-by-day version — set up, first shot, first adjustment, first milk drink, and the two habits that prevent most of the problems people write in about.
Questions people actually ask
What equipment do I need to start making espresso at home?+−
A machine, a burr grinder that reaches espresso fineness, fresh whole beans and a scale that reads to 0.1 g. Everything else is optional. A tamper usually comes in the box, though often in the wrong size.
Do I really need a scale for espresso?+−
Yes, and it is the cheapest item that genuinely changes the coffee. Espresso doses are around 18 g and yields around 36 g; a kitchen scale reading in whole grams cannot see the difference between a good dose and a bad one.
What can I skip when starting out?+−
A bottomless portafilter, a distribution tool, a knock box, a puck screen and a premium scale. All are genuine improvements later; none of them fix anything a beginner is actually struggling with. See what you can skip.
Does the tamper that comes with the machine work?+−
Sometimes. The common problem is diameter — a tamper a millimeter or two under your basket size leaves an untamped ring at the edge, and that is where the water escapes. Measure before you assume. See portafilter sizes.
How much does a beginner espresso setup cost?+−
It depends entirely on the split between machine and grinder, and the honest floor is lower than this category usually claims. We show the whole arithmetic, including running costs, on the cost page.
What the second wall actually does, when to switch, and the three purchases that make a single-wall basket work rather than just making it frustrating.