Heads up: we earn a commission if you buy through the links on this page, at no extra cost to you. It never changes the order of the list. Full disclosure · how we pick.
The box is open. What follows is the order we would actually do things in, designed so you get a drinkable shot on day two rather than a week of disappointment followed by the machine going in a cupboard.
Quick picks — Your first week with an espresso machine
#
Pick
Best for
Type
Price
1
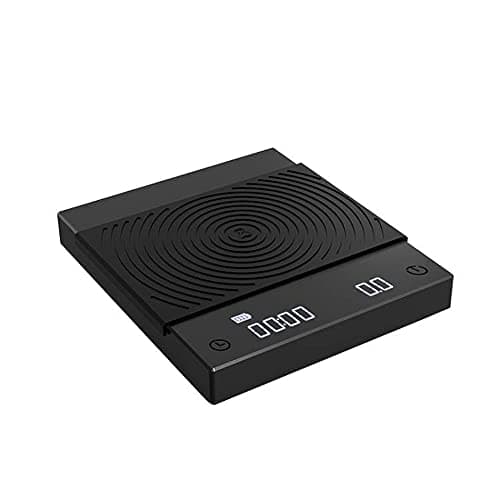
Timemore Black Mirror Basic 2Top pickA 0.1 g coffee scale with a built-in timer, small enough to sit under a cup on the drip tray.
Lavazza Super CremaA medium-roast blend built for espresso and sold everywhere. Forgiving of an imperfect grind, which is what a first bag needs to be.
Normcore Stainless Milk PitcherA 12 oz stainless pitcher with a defined spout. Size matters more than brand: too big and the wand cannot reach, too small and it overflows.
We have not handled these units. Everything above comes from published manufacturer documentation, cited inline, plus arithmetic you can redo yourself. Everyone in this category says they tested twenty machines; we have not tested any, and we say so. Here is what we do instead.
01
Timemore Black Mirror Basic 2
One scale for the dose and the shot
A 0.1 g coffee scale with a built-in timer, small enough to sit under a cup on the drip tray.
We have not compiled a cited spec sheet for this pick yet, so there is no spec table here. What follows is about fit — who it is for and who it is not — not about numbers we cannot source. See how we pick.
Espresso needs 0.1 g resolution because the dose is around 18 g and a gram either way changes the shot noticeably.
The timer matters as much as the weight. The National Coffee Association puts espresso brewing at 20-30 seconds, and you cannot hit a window you are not measuring.
What it does well
0.1 g resolution, which is the actual requirement
Timer built in, so you are not juggling a phone
Small enough to fit under the portafilter on most machines
What you give up
Not waterproof — it lives on a drip tray, so wipe it
No flow-rate display
Skip it only if your machine already weighs the dose for you. Otherwise this is the cheapest thing on the whole list that changes the coffee.
A medium-roast blend built for espresso and sold everywhere. Forgiving of an imperfect grind, which is what a first bag needs to be.
We have not compiled a cited spec sheet for this pick yet, so there is no spec table here. What follows is about fit — who it is for and who it is not — not about numbers we cannot source. See how we pick.
Blends built for espresso are easier to dial in than single-origin light roasts, which is why every café starts a new machine on one.
Availability is a real feature at this stage. A bean you can rebuy in any supermarket means you are changing one variable at a time.
What it does well
Very widely stocked
Tolerant of a grind that is not quite right yet
What you give up
Bags often sit on shelves — check the roast date if there is one
Skip it if you already know you like bright, fruity coffee. This is deliberately the opposite of that.
A 12 oz stainless pitcher with a defined spout. Size matters more than brand: too big and the wand cannot reach, too small and it overflows.
We have not compiled a cited spec sheet for this pick yet, so there is no spec table here. What follows is about fit — who it is for and who it is not — not about numbers we cannot source. See how we pick.
For one or two drinks, a 12 oz pitcher is the right size. Fill it to just below the spout base and the milk has room to expand.
A jug from the kitchen cupboard does not work: the wand tip needs the right depth and angle to spin the milk, and a straight-sided vessel will not do it.
What it does well
Correct geometry for the wand
Pointed spout is what makes a pour controllable
What you give up
Wrong size is a common mistake — 20 oz is too big for one latte
Skip it only if a pitcher came with your machine and it is around 12 oz — the Bambino Plus ships with a 16 fl oz one, which is fine.
Wash the water tank, the portafilter and both baskets in warm water. No detergent in the tank.
Fill the tank with filtered water if you have it. See water and filters for why it matters later.
Run two or three full tanks through the group head and the steam wand with no coffee in the basket. New machines taste of new machine, and this is what removes it.
Find the rating plate on the underside and note the wattage. You will want it for the cost arithmetic.
Read the manual's page on descaling. Not to do it — to know what the machine wants and which product it accepts.
Day 2 — the first shot, with the pressurized basket
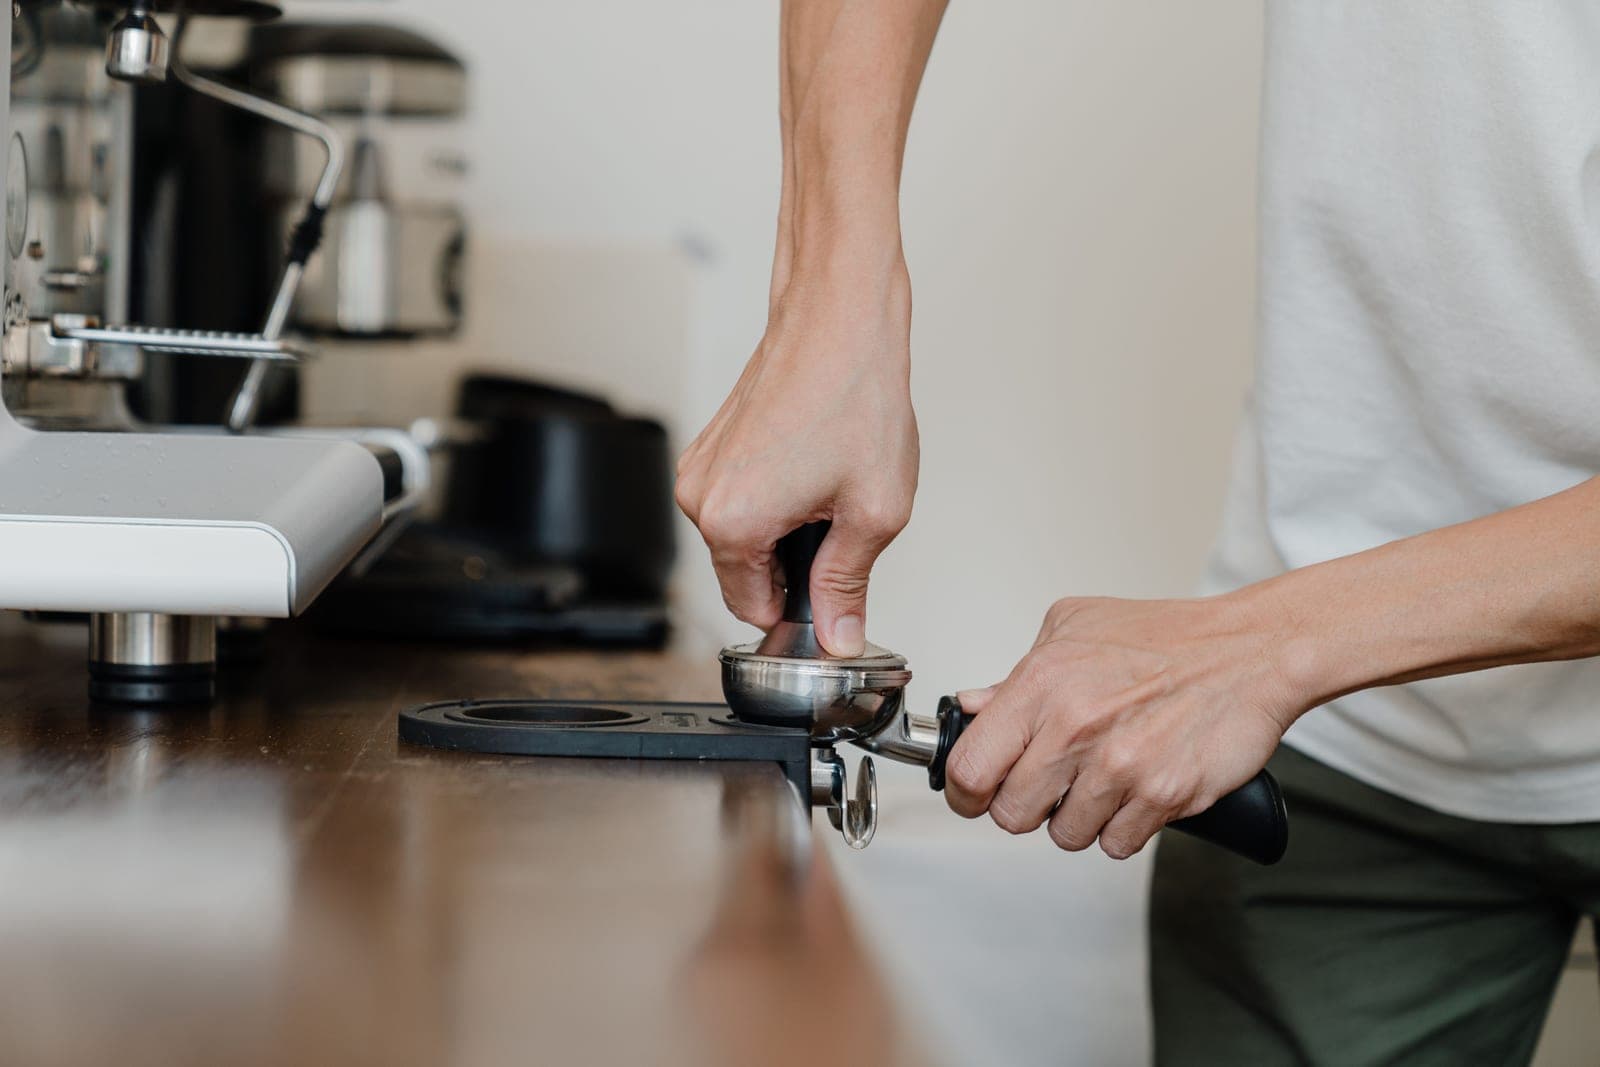
Use the dual-wall basket if your machine came with one. It will produce something drinkable regardless of grind, and the point today is to learn the sequence, not the recipe. Your first shot is the step-by-step.
Weigh 18 g in. Put a cup on the scale, zero it, start the pump and the timer, and stop at about 36 g. That is the 1:2 ratio the National Coffee Association describes, in 20 to 30 seconds. Taste it. Write down the three numbers.
Day 3 — change exactly one thing
Whatever the shot did, make one adjustment and only one. Too fast, grind finer. Too slow, grind coarser. Right time but sour, slightly finer. Right time but harsh, slightly coarser. Write it down again. The discipline of one change per shot is the whole method — see dialing in.
Day 4 — switch to the single-wall basket
Now you find out what your grinder can do. Expect the shot to run faster than it did in the pressurized basket, because nothing is holding it back any more. Re-dial from where you were, finer. If turning it finer does not slow the shot down meaningfully, that is a grinder limit rather than a technique problem — burr versus blade explains how to be sure.
Day 5 — milk
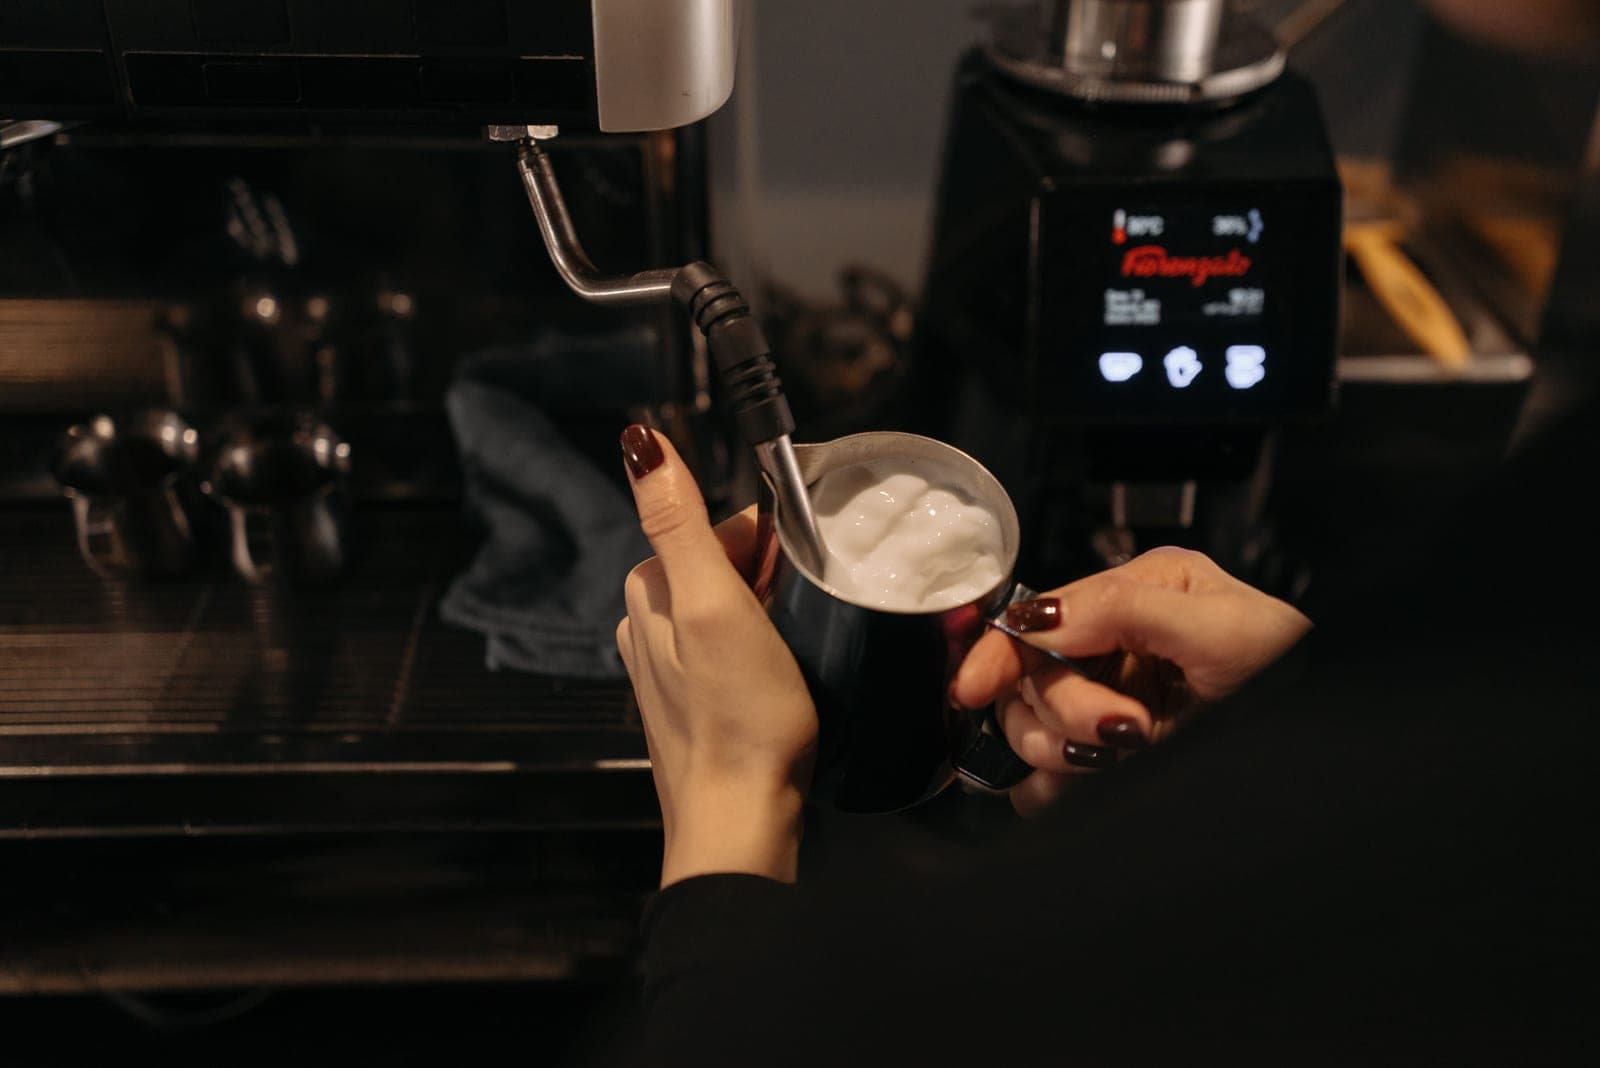
Steam milk with no coffee involved, twice, just to learn the sound and the feel. Fill the pitcher to below the spout, purge the wand first, and stop when the pitcher is too hot to hold comfortably. Full method in how to steam milk.
Day 6 — put it together
Pull the shot, then steam the milk, then pour. In that order, because espresso waits worse than milk does. This is the first day you make a drink you would actually order.
Day 7 — build the two habits
The two habits that prevent most of what goes wrong
Habit
Takes
Prevents
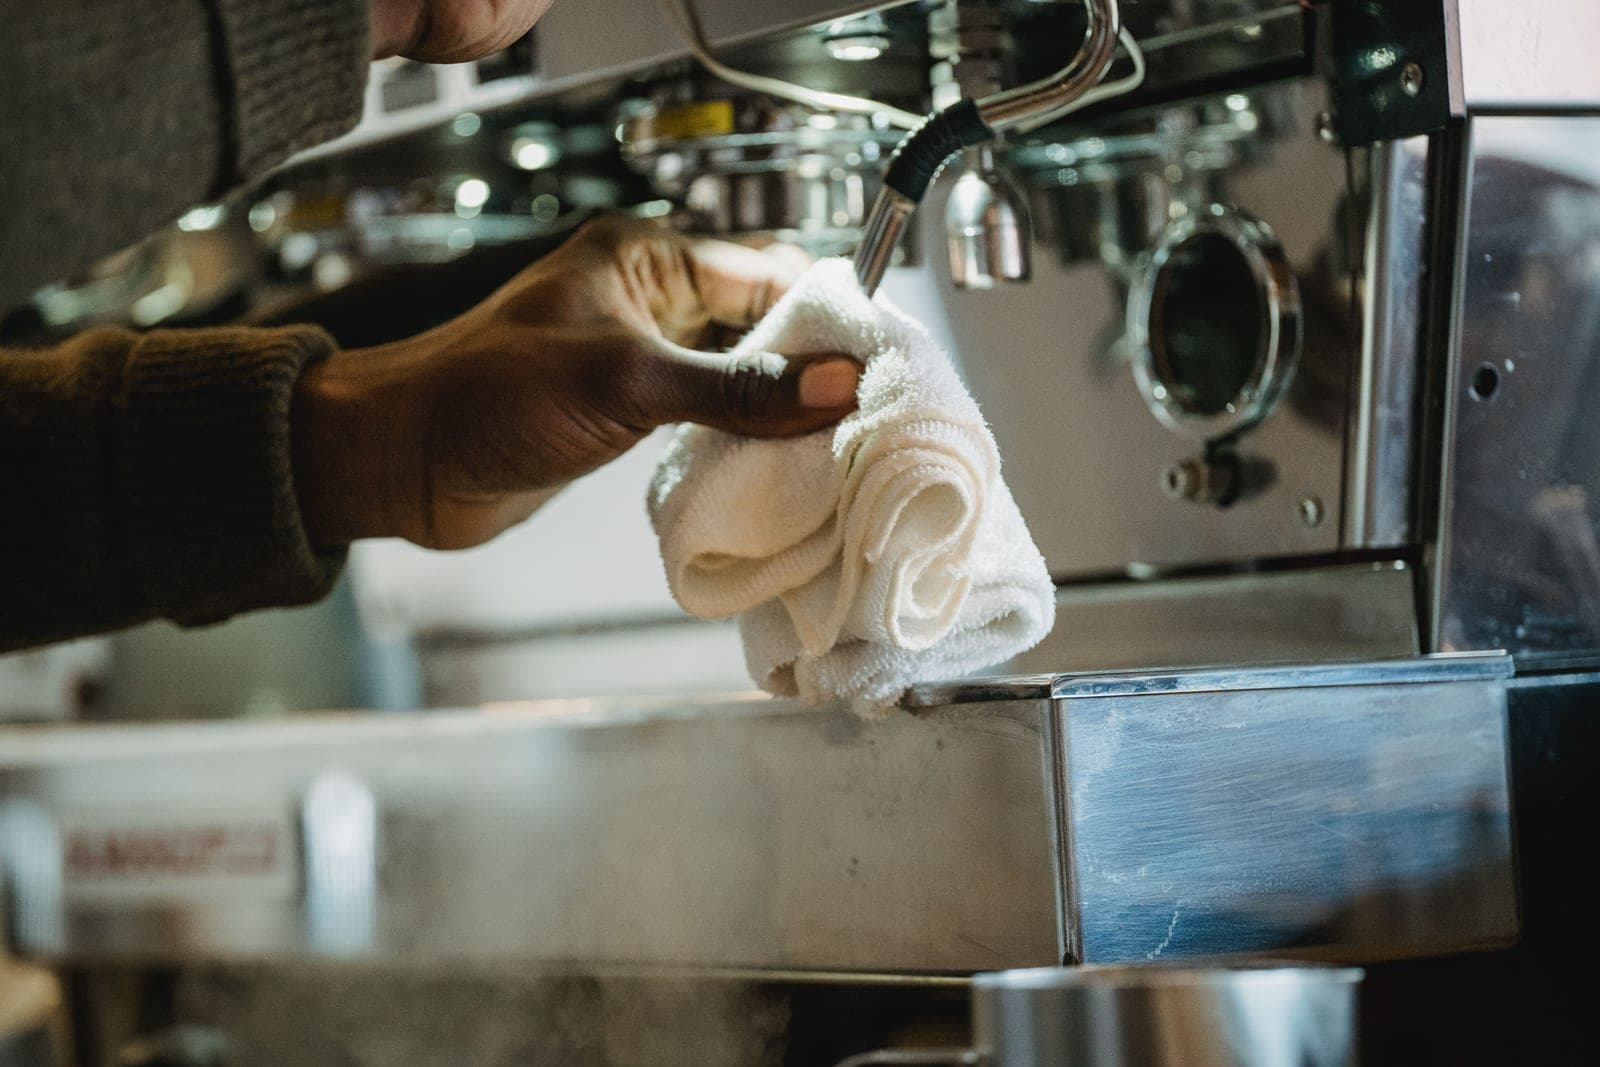
Purge and wipe the steam wand immediately after every use
Five seconds
Baked-on milk protein, a blocked tip, sour smells. See steam wand care
Knock the puck and rinse the basket after every shot
Ten seconds
Rancid coffee oils tainting every later shot. See cleaning
Questions people actually ask
What should I do first with a new espresso machine?+−
Wash the tank and baskets, then run two or three full tanks of water through the group head and steam wand with no coffee. New machines have a taste that flushes out, and doing this first saves you blaming the beans.
Should I start with the pressurized or single-wall basket?+−
Pressurized, for the first few days. It gives you a drinkable shot while you learn the sequence. Switch to single-wall once you are comfortable, and expect to re-dial finer.
How long before my espresso tastes good?+−
Usually a few days to a consistent, pleasant shot if the grinder is adequate. If it is not, no amount of practice helps — that is the one thing time cannot fix.
Do I need to descale a new machine?+−
No. Read the manual's descaling section on day one so you know the interval and the product, then follow it from there. See the maintenance schedule.