Heads up: we earn a commission if you buy through the links on this page, at no extra cost to you. It never changes the order of the list. Full disclosure · how we pick.
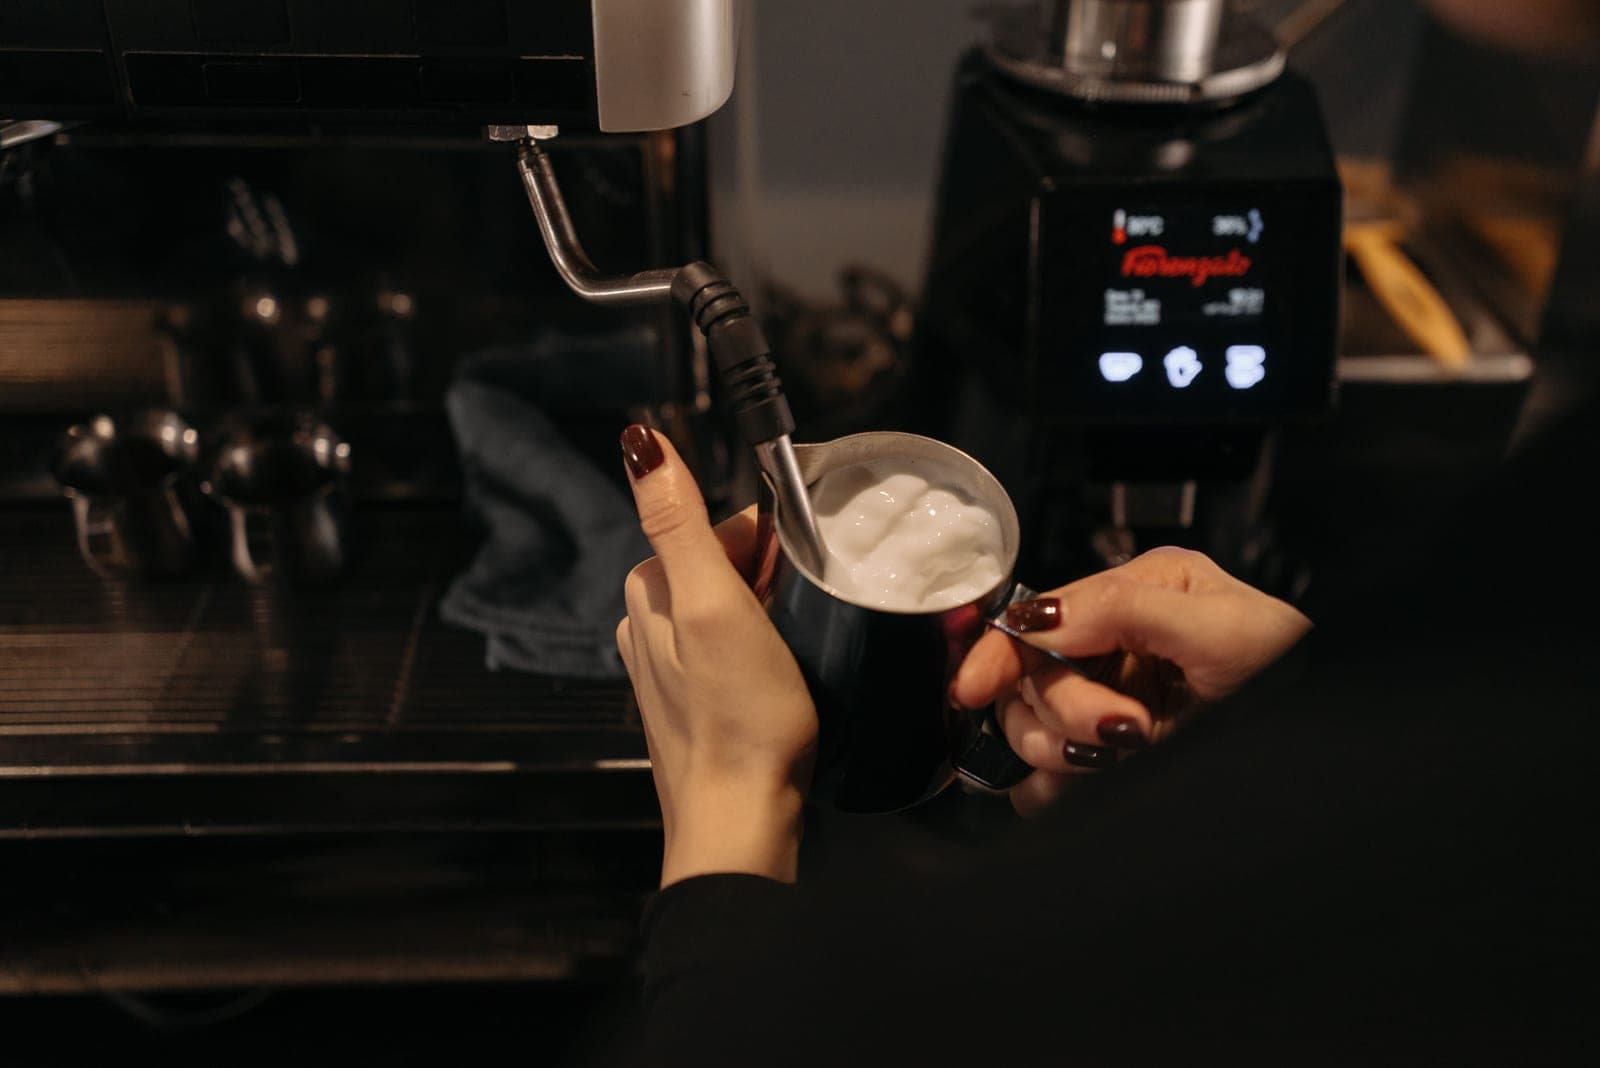
Steaming milk is two things happening in sequence, not one. First you add air. Then you fold that air through the milk while it heats. Almost every mistake is doing them in the wrong order, or doing them at the same time.
The method
**Fill the pitcher** with cold milk to just below the base of the spout. Milk expands; a full pitcher overflows.
**Purge the wand** for a second into the drip tray. This clears condensed water so you are not adding it to the milk.
**Set the tip just below the surface**, near the side of the pitcher rather than the middle, angled so the milk will circulate around the pitcher rather than churn in place.
**Turn the steam fully on.** Half power gives you a wand that cannot fold the milk.
**Phase one — add air, 3 to 5 seconds.** You want a light, steady tearing sound, like paper. Lower the pitcher very slightly as the volume grows so the tip stays just below the surface. Loud screeching means the tip is too far out and you are making large bubbles.
**Phase two — fold.** Lift the pitcher so the tip goes deeper and the whole surface starts spinning in a smooth vortex. The sound drops to a low rumble. Stay here until the milk is hot.
**Stop when the pitcher is too hot to hold comfortably** — that is around 60-65°C and it is the point where dairy milk is at its sweetest. Past that it starts to taste cooked.
**Wipe and purge the wand immediately**, before you do anything else. Then swirl the pitcher, tap it once on the counter to burst any large bubbles, and swirl again until the surface is glossy.
Quick picks — How to steam milk
#
Pick
Best for
Type
Price
1
No photo
Normcore Stainless Milk PitcherTop pickA 12 oz stainless pitcher with a defined spout. Size matters more than brand: too big and the wand cannot reach, too small and it overflows.
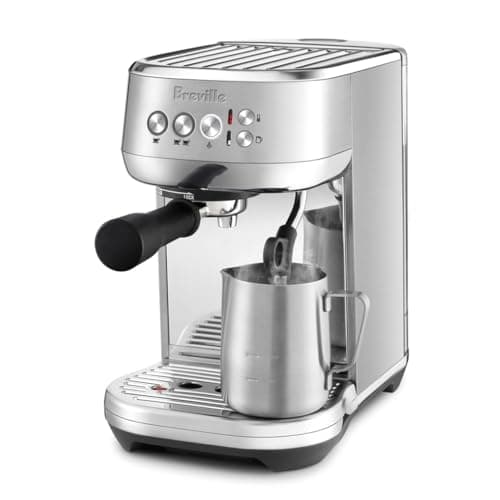
Breville Bambino Plus (BES500)The standard answer to “which first machine” — full 54 mm portafilter and an 18 g dose, with the milk step automated so a flat white is possible on day one.
We have not handled these units. Everything above comes from published manufacturer documentation, cited inline, plus arithmetic you can redo yourself. Everyone in this category says they tested twenty machines; we have not tested any, and we say so. Here is what we do instead.
01No photo
Normcore Stainless Milk Pitcher
The one milk item you cannot improvise
A 12 oz stainless pitcher with a defined spout. Size matters more than brand: too big and the wand cannot reach, too small and it overflows.
We have not compiled a cited spec sheet for this pick yet, so there is no spec table here. What follows is about fit — who it is for and who it is not — not about numbers we cannot source. See how we pick.
For one or two drinks, a 12 oz pitcher is the right size. Fill it to just below the spout base and the milk has room to expand.
A jug from the kitchen cupboard does not work: the wand tip needs the right depth and angle to spin the milk, and a straight-sided vessel will not do it.
What it does well
Correct geometry for the wand
Pointed spout is what makes a pour controllable
What you give up
Wrong size is a common mistake — 20 oz is too big for one latte
Skip it only if a pitcher came with your machine and it is around 12 oz — the Bambino Plus ships with a 16 fl oz one, which is fine.
The standard answer to “which first machine” — full 54 mm portafilter and an 18 g dose, with the milk step automated so a flat white is possible on day one.
Published specifications for the Breville Bambino Plus (BES500), with sources
54 mm tamper, Razor dosing tool, 16 fl oz milk jug, single- and dual-wall baskets, cleaning tool and disc [source]
The 54 mm portafilter and 18 g dose matter more than they sound: they put the machine on the same dose a cafe uses, so any recipe you read applies to it directly and every 54 mm accessory fits.
The three-second heat-up is the difference between espresso being a weekday habit and a weekend project. A machine that takes fifteen minutes to be ready is a machine you use on Sundays.
The automatic steam wand is the single biggest reason this suits a first setup. Milk texturing is the skill that takes longest to learn; handing it to the machine removes the part most likely to make you give up.
What it does well
Standard 54 mm basket, so recipes and accessories from anywhere fit
Ready in seconds, which is what makes it a habit rather than a project
Automatic milk means a drinkable cappuccino before you can texture by hand
The manual wand is still there when you want to learn
What you give up
No grinder — budget for one separately, and that is the right trade
Small water tank compared with a bean-to-cup machine; refills are frequent
Nothing here helps if your grinder cannot go fine enough
Skip it if you want one box that does everything with no learning curve — a bean-to-cup machine is the honest answer for that, and it is a different product.
Hold the pitcher by the side, not the handle. When it becomes uncomfortable to keep your hand there, you are close. That is a genuinely reliable method and it is what most people use. A thermometer is fine too; the hand is faster and always with you.
Overheated milk tastes flat and slightly scalded, and it will not hold texture — the foam separates from the liquid and you pour a thin coffee with a lump of foam on top.
The order of operations for the whole drink
Pull the shot first, then steam the milk, then pour. Espresso deteriorates faster than milk does — crema collapses within a minute or two — and textured milk holds for around thirty seconds before it starts separating. Doing it in this order means both are at their best when they meet.
Questions people actually ask
How do you steam milk for a latte?+−
Add air for three to five seconds with the wand tip just under the surface, then submerge the tip slightly and let the milk spin until the pitcher is too hot to hold comfortably. Swirl, tap and pour.
What temperature should steamed milk be?+−
Around 60-65°C, which is the point where the pitcher becomes uncomfortable to hold. Hotter than that tastes cooked and the foam stops holding together.
Why is my milk full of big bubbles?+−
Too much air, introduced too fast — usually the wand tip sitting too far above the surface, which also makes a screeching noise. Large bubbles cannot be folded out; start again with fresh milk.
Can I re-steam milk?+−
You can, and it will not texture properly the second time — the proteins that hold foam have already been denatured. Steam what you need.
How long does it take to learn?+−
Most people get a pourable result within a couple of weeks of daily practice. Steaming plain milk with no coffee involved is the fastest way to learn, because you can do it three times in a row without wasting shots.