Heads up: we earn a commission if you buy through the links on this page, at no extra cost to you. It never changes the order of the list. Full disclosure · how we pick.
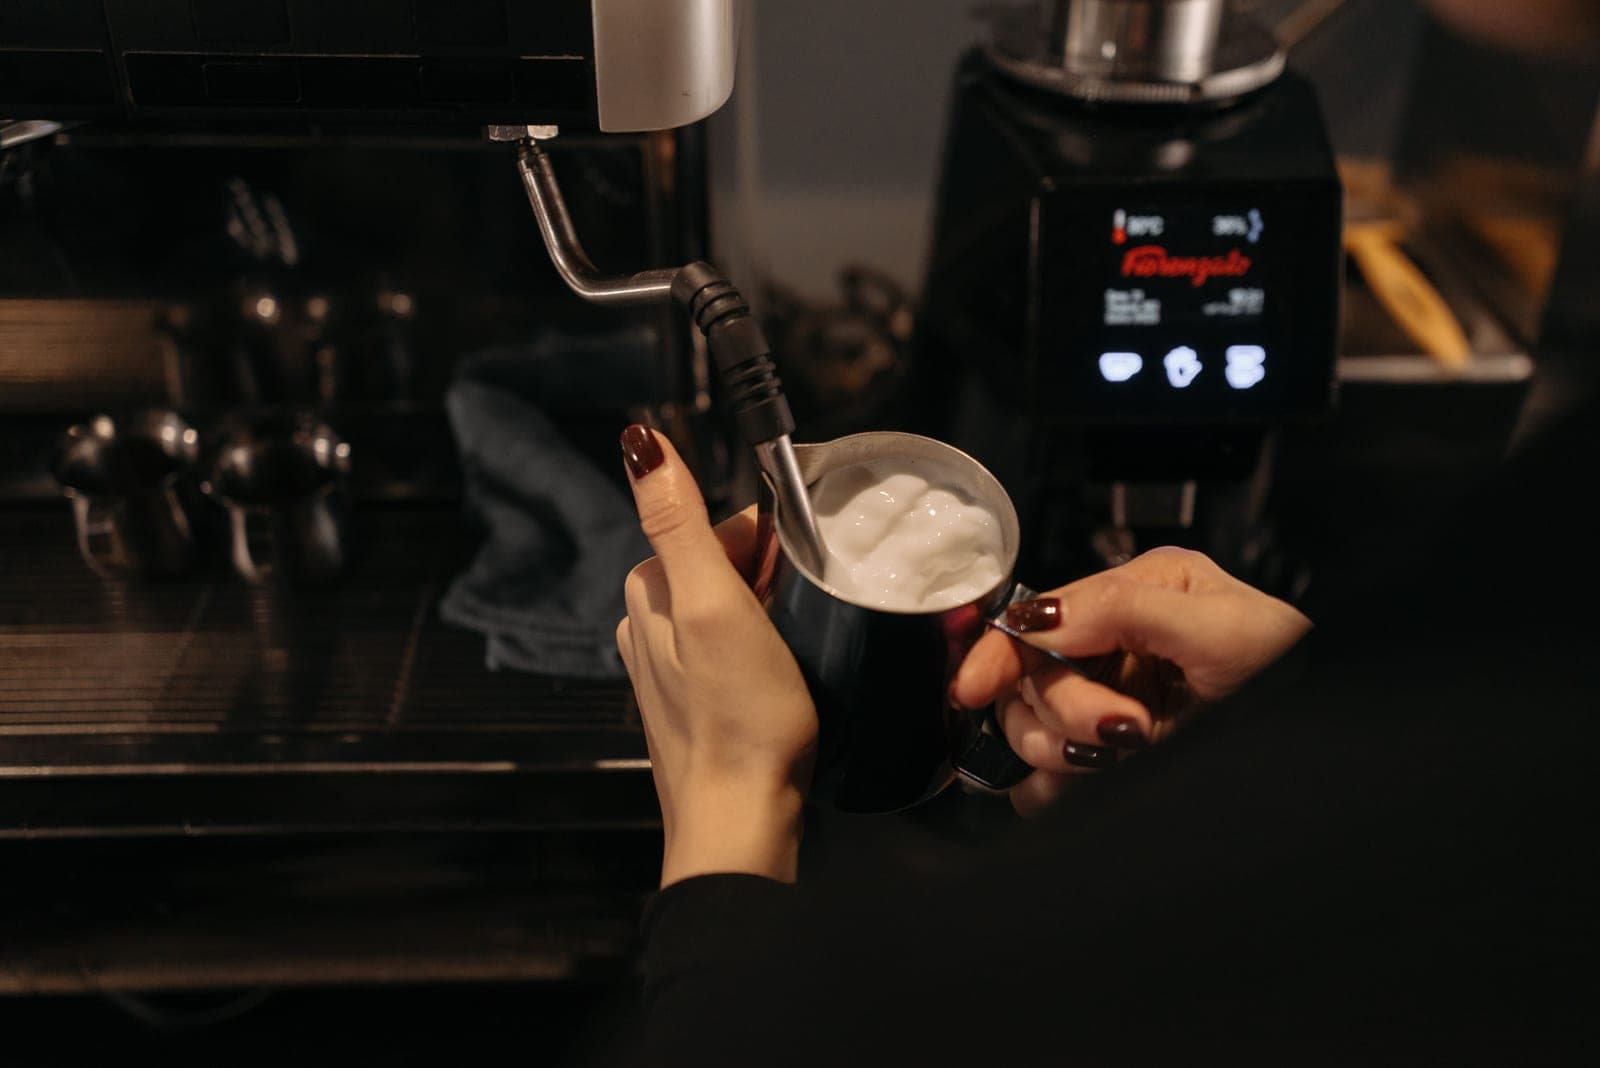
Most latte art advice is about the pour — the height, the wiggle, the cut through. That advice is fine and it is not where beginners lose. Beginners lose in the pitcher, because milk that is not properly textured cannot make a pattern no matter how it is poured.
What pourable microfoam looks like
**Glossy**, like wet paint. If the surface is matte, there is too much air.
**No visible bubbles at all.** One or two you can tap out; a layer of them you cannot.
**It moves as one liquid** when you swirl the pitcher — a slow, heavy roll, not a splash with a crust on top.
**It pours in a continuous stream** rather than glugging or dropping in lumps.
If the milk fails any of those, stop and start again with fresh milk. You cannot fold large bubbles out and you cannot re-steam milk successfully — the proteins that hold structure have already been used.
Quick picks — Milk for latte art
#
Pick
Best for
Type
Price
1
No photo
Normcore Stainless Milk PitcherTop pickA 12 oz stainless pitcher with a defined spout. Size matters more than brand: too big and the wand cannot reach, too small and it overflows.
We have not handled these units. Everything above comes from published manufacturer documentation, cited inline, plus arithmetic you can redo yourself. Everyone in this category says they tested twenty machines; we have not tested any, and we say so. Here is what we do instead.
01No photo
Normcore Stainless Milk Pitcher
The one milk item you cannot improvise
A 12 oz stainless pitcher with a defined spout. Size matters more than brand: too big and the wand cannot reach, too small and it overflows.
We have not compiled a cited spec sheet for this pick yet, so there is no spec table here. What follows is about fit — who it is for and who it is not — not about numbers we cannot source. See how we pick.
For one or two drinks, a 12 oz pitcher is the right size. Fill it to just below the spout base and the milk has room to expand.
A jug from the kitchen cupboard does not work: the wand tip needs the right depth and angle to spin the milk, and a straight-sided vessel will not do it.
What it does well
Correct geometry for the wand
Pointed spout is what makes a pour controllable
What you give up
Wrong size is a common mistake — 20 oz is too big for one latte
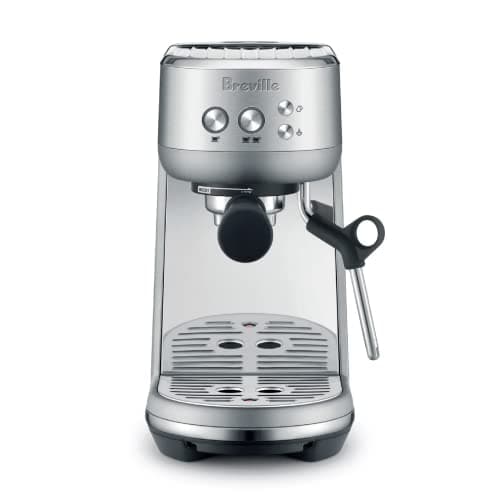
Skip it only if a pitcher came with your machine and it is around 12 oz — the Bambino Plus ships with a 16 fl oz one, which is fine.
Manual. Breville positions the Plus as the model to choose for an automatic wand [source]
Breville's own page frames the difference in one line: choose the Plus if you want the automatic steam wand. Everything about the shot itself is the same.
If you drink espresso black, or mostly americanos, the automatic wand is a feature you would pay for and never use.
If you drink lattes every morning and have never steamed milk, this is the model that will frustrate you first.
What it does well
The same 54 mm, 18 g, fast-heating shot as the Plus
Cheaper, which frees money for the grinder — the better place to spend it
Manual wand teaches you the skill rather than hiding it
What you give up
Milk texturing is a real skill with a real learning period
No grinder
Skip it if milk drinks are the whole reason you are buying a machine and you would rather not practice — the Plus exists exactly for that.
Stop when the pitcher is uncomfortable to hold; pour within 30 seconds
Fine texture but will not hold a pattern
The milk itself — often a standard plant milk
Use whole dairy or a barista-edition plant milk
Milk choice, ranked for art specifically
**Whole dairy milk.** The most forgiving thing available. Fat carries flavor and gives the foam body; protein gives it structure.
**Barista-edition oat.** The best plant option and genuinely close. Formulated with added fat and stabilizers precisely for this.
**Barista-edition soy.** Holds well. Can split against very acidic coffee.
**Semi-skimmed dairy.** Textures fine, less rich in the cup.
**Standard oat, almond, coconut.** Will foam and will not hold a pattern for the length of a pour.
Two things about the espresso, not the milk
Latte art needs a crema layer for the milk to break through — that is what creates the contrast. A shot with thin or no crema gives you a brown drink with white in it and no edge definition. If your crema is thin, that is a coffee freshness or a grind question rather than a milk one: see dialing in and choosing beans.
And pour into a wide, shallow cup. A tall narrow mug gives you no surface to draw on and makes the whole thing harder than it needs to be.
Questions people actually ask
Why can't I pour latte art?+−
Almost always the milk rather than the pour. If it is not glossy, bubble-free and moving as one liquid when you swirl the pitcher, no pouring technique will produce a pattern.
What milk is best for latte art?+−
Whole dairy milk is the most forgiving. Among plant milks, barista editions are formulated to hold structure; standard versions generally will not hold a pattern.
Can you do latte art with a handheld frother?+−
No. A whisk makes bubbles that sit on top of the milk rather than microfoam that pours as one liquid.
Does the espresso matter for latte art?+−
Yes — you need a crema layer for the milk to break through, which is what makes the contrast. Thin crema usually means stale beans or a grind problem.